Skip to content
Exact colour match every time
Next day UK delivery
Orders mixed within 24–48 working hours
COLOUR MATCHED AEROSOL PAINT

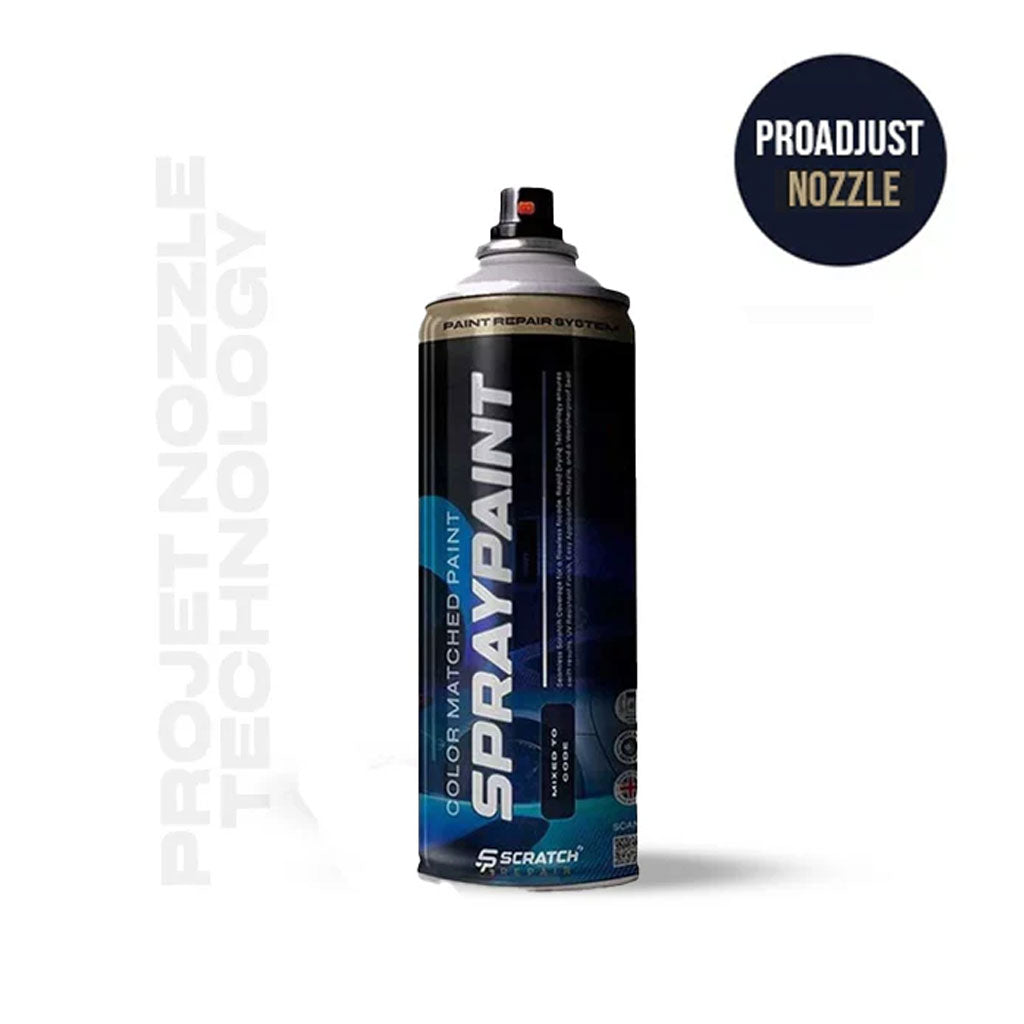
Professional Colour Matched Aerosol Paint

400ml automotive colour coat for bumpers, panels and larger paint repairs. Mixed to your vehicle and fitted with an adjustable fan nozzle for controlled, even coverage.

Important:Aerosol repairs require proper preparation. Choose the add-ons below to match the depth of the damage and your vehicle’s paint system.
£19.99
VAT included
VEHICLE CONFIRMEDWe’ll mix the colour specifically for your vehicle.
RegistrationNot provided
MakeNot specified
YearNot specified
ColourNot specified
Exact Colour MatchMixed from manufacturer data
Adjustable Fan NozzleHorizontal or vertical spray pattern
400
400ml CoverageFor panels and larger repairs
🇬🇧
Mixed in the UKPrepared specifically for you
Applying colour matched aerosol paint to a prepared silver bumper
LARGER PAINT REPAIRS

Controlled Coverage for Panels, Bumpers and Scuffs

The aerosol gives much broader coverage than a pen or bottle, making it the correct choice when the damaged area needs feathering and refinishing rather than simply filling.

Vehicle-specific colourMixed using your registration or supplied paint code.
Adjustable fan patternRotate the nozzle to suit horizontal or vertical passes.
Light overlapping coatsBuild coverage gradually instead of applying one heavy coat.
Professional systemPrimer, colour, blending solution and lacquer work together.
CHOOSE YOUR CLEAR COAT

What Is the Difference Between 1K and 2K?

Both protect the colour coat, but they cure differently and suit different levels of repair.

1K

1K Lacquer

Ready to spray • Air drying
  • Single-component lacquer with no separate hardener to activate.
  • Simple to use and suitable for most DIY cosmetic repairs.
  • Longer usable shelf life because there is no activated pot life.
  • Good gloss, weather protection and polishing ability.
  • Best for small repairs where maximum chemical resistance is not essential.
Choose 1K for convenience, easier application and occasional DIY repairs.
2K

2K Lacquer

Activated hardener • Chemical cure
  • Contains a separate hardener that is released when the aerosol is activated.
  • Cures harder with stronger gloss retention and scratch resistance.
  • Provides higher resistance to fuel, chemicals, weathering and repeated washing.
  • Has a limited usable pot life after activation; follow the time printed on the product.
  • Requires professional-level PPE, ventilation and strict compliance with its label and safety data sheet.
Choose 2K when maximum durability is required and it can be applied safely.
Important: many automotive 2K aerosols use an isocyanate hardener. Do not treat 2K as a normal household spray. Follow the product label and safety data sheet, use the specified respiratory protection and work only in a suitable controlled environment.
COMPLETE APPLICATION GUIDE

Eight Stages to a Proper Aerosol Repair

Do not rush between stages. Preparation determines how smooth, durable and invisible the final repair will be.

Prepare
1

Clean & Degrease

Wash, dry and remove wax, grease and silicone. Contamination beneath paint causes poor adhesion and defects.

Repair
2

Sand & Feather

Remove loose paint and feather the damaged edges until the transition feels smooth. Fill deeper damage first.

Protect
3

Mask the Area

Mask trim and adjacent panels. Leave enough room around the repair for a soft fade rather than a hard paint edge.

Prime
4

Apply Primer

Prime bare metal, plastic or filler in thin coats. Allow it to dry, then smooth it before applying colour.

Mix
5

Shake & Test Spray

Shake thoroughly, rotate the fan nozzle and test the pattern away from the vehicle before each application.

Colour
6

Build Colour Coats

Hold the can at a consistent distance and apply several light, overlapping coats until even coverage is achieved.

Finish
7

Blend & Lacquer

Fade the repair with blending solution where needed, then apply clear lacquer over metallic, pearl and basecoat colours.

Refine
8

Cure & Polish

Allow the coating to cure fully. Once safe to polish, refine the repaired area gently to restore an even gloss.

Spray safely

Use a suitable respirator, gloves and eye protection. Work only in a well-ventilated, dust-free area away from ignition sources, and follow every product’s safety instructions.

Adjustable fan spray nozzle on Scratch Repair aerosol paint
BETTER SPRAY CONTROL

Adjust the Fan Pattern Before You Paint

Turn the yellow nozzle to change the direction of the fan. Match the spray pattern to the shape of the repair and keep the can moving before pressing and after releasing the nozzle.

Keep a consistent distanceToo close causes runs; too far creates a dry, rough finish.
Overlap each passUse smooth passes with roughly 50% overlap for even coverage.
Apply light coatsMultiple controlled coats produce a cleaner finish than one heavy coat.
BETTER RESULTS

Aerosol Tips That Prevent Common Paint Problems

A few small checks before and during spraying can prevent poor coverage, fisheyes, blocked nozzles and solvent reactions.

°C

Bring the Can to Room Temperature

For the most consistent pressure and atomisation, keep the aerosol and panel around 20–25°C before use. Never use boiling water, flames or direct heat on a pressurised can.

01

Clean Before Sanding and Spraying

Remove wax, grease, silicone and polish thoroughly. Contamination can push the wet paint away and create circular defects known as fisheyes.

Shake Thoroughly

Shake for at least two minutes after the mixing ball becomes free, then shake periodically while spraying. Test the nozzle and fan pattern away from the vehicle.

Allow Every Coat to Flash

Wait until the previous coat has flashed as directed before applying the next. Spraying too soon traps solvent and can cause runs, wrinkling, dullness or slow curing.

Start Moving Before Spraying

Begin each pass off the repair, press the nozzle while moving, overlap evenly and release after passing the opposite edge. This avoids heavy start and stop marks.

Use Light, Even Coats

Do not try to achieve coverage in one wet coat. Build the colour gradually while maintaining a consistent distance and speed.

!

If the Nozzle Becomes Blocked

Remove only the plastic nozzle, soak it in warm water and gently clear the outlet with a fine pin. Refit and test away from the car. Never puncture, immerse or heat the aerosol can.

Clear the Nozzle After Use

Where the product instructions permit, invert the can and spray briefly until only propellant exits. Wipe the removable nozzle before storage.

REAL REPAIR RESULT

From Broad Scuff to Smooth Finish

A larger bumper scuff needs more than colour alone. Correct sanding, primer, matched colour and lacquer rebuild the finish as a complete system.

Drag the slider to compare the repair.

Silver bumper scuff before aerosol repair
Silver bumper after aerosol repair
BeforeAfter‹›
VERIFIED CUSTOMER FEEDBACK

Aerosol Paint Reviews

HELPFUL ANSWERS

Aerosol Paint FAQs

Will the aerosol match my vehicle?

We identify the manufacturer colour from the registration or paint code supplied and mix the aerosol specifically for the order.

Do I need primer?

Primer is required where sanding exposes bare metal, plastic or filler. Sound existing paint normally needs cleaning and keying rather than heavy primer.

Does metallic paint need lacquer?

Yes. Metallic, pearl and most modern basecoat colours require clear lacquer for gloss, protection and the correct finished appearance.

When should I use body filler?

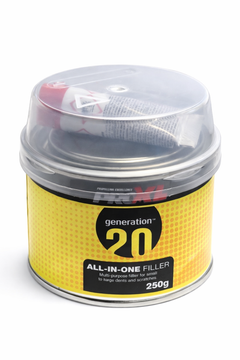
Use filler for deeper gouges or low areas that cannot be levelled by sanding alone. Shape and smooth the filler before primer.

What does blending solution do?

Blending solution softens the dry edge around a localised repair, helping the new coating fade more smoothly into the surrounding finish.

How many coats should I apply?

Apply several light coats rather than one heavy coat. Build colour until coverage is even, following the drying guidance for each product.

Can I spray outdoors?

A controlled, well-ventilated and dust-free area gives the best result. Avoid wind, direct sun, rain, high humidity and unsuitable temperatures.

When can I polish the repair?

Only polish after the coating has cured sufficiently. Follow the product instructions and test gently before refining the whole repaired area.

Aerosol Paint FAQs

Will the paint match my Aerosol Paint exactly?

Yes. Our touch-up paint is precisely mixed using your Aerosol Paint factory color code, ensuring an accurate, seamless finish.

Where can I find the paint code on my Aerosol Paint?

You can usually find the paint code on a sticker inside the driver’s door, under the bonnet, or in the boot. We also provide a step-by-step guide to help locate it.

What if I don’t know my Aerosol Paint paint code?

Simply choose your model and year from our product. We’ll help you identify the right touch-up paint based on your Aerosol Paint's original specifications.

What’s included in the Aerosol Paint touch-up paint kit?

Each kit comes with your matched paint, clear coat, and application tools. Some include primer depending on the type of repair needed.

Can I use this on scratches, stone chips, or bumpers?

Yes—our Aerosol Paint kits are designed to repair minor scratches, stone chips, and bumper scuffs with precision.

How do I apply the touch-up paint?

Clean the surface, apply the paint in thin coats, and seal with clear coat. Every kit includes beginner-friendly instructions.

How long does it take for the paint to dry and cure?

Touch-up paint dries in 20–30 minutes between coats and cures fully in 24–48 hours. For best results, avoid washing or polishing during this period.

I can't find my paint code

Your vehicle’s paint code can be found in the owner’s handbook and is also shown on a sticker or plate inside the car. Common locations include the door frame, under the bonnet, inside the glove box, or in the wheel well. Here’s a guide to help you find your paint code.


Why Choose Our Aerosol Paint Paint ?

  • 100% exact colour match—just use your paint code
  • Fast UK dispatch and secure packaging
  • Available in solid, metallic, and pearlescent finishes

Get the perfect finish with our trusted touch-up solutions—engineered for precision and backed by over 1,000 5-star reviews.

100% Colour Match Guaranteed

How to use the Scratch Repair Paint

Simple steps for a Perfect Paint Finish

Do this in three simple steps...

Prep & Prime
Apply Colour
Finish with Lacquer
STEP 1 Prep & Prime

Preparation:
Clean the area thoroughly to remove dirt, grease, or wax.
Make sure the surface is completely dry before painting.
Light sanding (if needed) will help smooth rough edges and improve adhesion.

Primer Application:
Apply a thin, even coat of primer over the repaired area.
Allow it to dry fully before adding additional coats or moving to colour.
For deeper damage or bare metal/plastic, multiple thin coats may be required.

STEP 2 Apply the Colour Coat

Colour Application:
Apply light, even layers of colour to build up coverage gradually.
Allow each coat to dry before applying the next.
Continue adding thin coats until the repaired area matches the surrounding surface.

STEP 3 Finish with Lacquer / Clear Coat

Application:
After the colour coat is fully dry, apply thin layers of clear coat.
Let each layer dry before applying the next.
Allow the final coat to cure fully before washing or polishing the area.